Friday, February 28, 2014

Barrel of Tulips Giveaway Winner!

Good Morning!

It always seems appropriate to start a post with a cheery greeting but truth be told we are entering into a HORRIBLE cold snap today and into tomorrow which is leaving me with little to feel cheery about. Temperatures are expected to plummet to -56 Celsius with the wind chill; that's -69 Fahrenheit!!  

With a cold snap like that I think I'll focus on doing another Spring like tutorial, which I'll share with you next week!  In the meantime I have randomly chosen a winner for the Barrel of Tulips tutorial...so without further ado the winner is...Maxiesmom!    Please forward me your email address and I'll send it off to you right away!  

And if you weren't the lucky recipient this time around but would still like to bring a little cheer into your Spring decor, you can purchase your own copy of the tutorial through my Tutorial Store tab.

Have a wonderful weekend; stay safe and warm! 

 photo d6fad301-7d1b-423d-a2b6-c4c19f15fe5e.jpg
Pin It

Wednesday, February 26, 2014

Barrel of Tulips Tutorial Giveaway!


Hello!

Well, we've reached the middle of another week - its still cold, windy, and blah so I thought I'd give away a little blog candy to cheer myself and one lucky crafter up!

If you would like to bring a little Spring into your decor this Barrel of Tulips might be just the ticket!   For a chance to win a FREE copy of this tutorial entering is super easy, just leave me a comment below, along with your email address, telling me your favorite thing about Spring!  I'll randomly draw a name and announce the winner on Friday's blog post.

***Please note that this Blog Candy is for the TUTORIAL only, not the finished product!***

Have a wonderful day!
 photo d6fad301-7d1b-423d-a2b6-c4c19f15fe5e.jpg
Pin It

Tuesday, February 25, 2014

Peaceful Petals Watercolor Background


Good Morning!

I promised a video for this Watercolor Background technique ages ago and when I finally found the time to edit it I wasn't happy with the results.  So, I deleted that video, re-created a new card using the same technique, and recorded that instead.  A little more work but now you have two examples to use as inspiration!

Supplies:

Stamp set: Peaceful Petals
Cardstock: Watercolor, Pistachio Pudding, Crisp Cantaloupe
Ink: Gumball Green, Bermuda Bay, Strawberry Slush, Black Staz-On
Accessories: Pink Pirouette, Rich Razzleberry, Raspberry Ripple, Daffodil Delight, Pear Pizazz, Wild Wasabi markers, Blender Pen, Labels Collection Framelits, Honeycomb EF, Boho Blossoms punch, Basic Pearls, Mini Glue Dots, Stylus Tool, Foam Mat, Paper Snips, Stampin' Spritzer, Butcher paper or Wax Paper

Begin by stamping the stem of flowers onto a piece of Watercolor paper using Black Staz-On ink.  Color in the entire flower petal with a Pink Pirouette marker.  Add small amounts of Raspberry Ripple marker to the base of the petals and blend upwards with a Blender Pen.  With the fine tip of a Rich Razzleberry color the veining of each petal to add definition.  Color the stems with Pear Pizzaz and Wild Wasabi.  Using paper snips carefully cut out the stems and flowers and adhere to your background.

To create the small flowers punch the 5 point flower found in the Boho Blossoms punch from Crisp Cantaloupe paper.  With a stylus tool and foam mat add dimension to each flower, adhere a pearl into the center of each and glue to the card front using a mini glue dot.

Here was my original card; if you'd like to read up on the original blog post, click HERE
As you can see, each time you do this technique the outcome is very different!  It all depends on how you lay the ink down onto the butcher or wax paper.  Experiment!  It's a super easy technique and great for all those Spring cards we should be creating!


Have a great day! And be sure to check back tomorrow - I feel a giveaway coming on!!

 photo d6fad301-7d1b-423d-a2b6-c4c19f15fe5e.jpg
Pin It

Friday, February 21, 2014

Thomas the Train Card in a Box


Happy Friday!

I have seen so many of these Cards in a Box cards being created by fellow demonstrators that I just had to try one for myself! Once you have the scoring dimensions, the basic box is really easy to put together leaving you with plenty of possibilities for decorating!  And perhaps the best part of this card design?  It folds completely flat so it can be mailed in a standard sized envelope!

Supplies:

Stamp sets: Make a Wish
Cardstock: Island Indigo, Marina Mist, Smoky Slate, Whisper White, Basic Black, Daffodil Delight, Real Red, Brights DSP Stack, Cherry Cobbler, Gumball Green, Bermuda Bay, Pool Party
Ink: Basic Gray, Basic Black, Midnight Muse
Punches: Modern Label, 1 1/4" circle, Owl, Cupcake, Extra Large Oval, Window Label, Small Oval, 1/2" Circle
Accessories: Island Indigo Baker's Twine, White Gel Pen, Chalk Marker, Window Sheet, Sponges, Mini Glue Dots, Snail Adhesive, Multi purpose liquid adhesive

There are many sizes that you can make these boxes but I chose to make mine to fit into a standard size envelope.  For basic dimensions I suggest visiting demonstrator Frances Martin's blog post - she also has a video that might help you out in the visual process!

As inspiration for my Thomas I used a punch art piece from Sharon White (a past SU! demo).  She made her's large enough to cover a card front so the punches I had to use had to be scaled down quite a bit but the overall concept and finished product is much the same.  The balloons were made to appear "floating" by simply adding a small strip of Window Sheet behind each balloon then attaching that to the card base dividers.  
Here's a look at what the card looks like from the top so you can see my card dividers:

I hope you have a fabulous weekend!  Before I sign off I just had to share this photo taken by Greg Johnson, a local Tornado Hunter from Saskatchewan.  The Northern Lights were fabulous here a couple nights back and Greg was lucky enough to capture them then share it with us on his Facebook Page.

Aren't they spectacular?? I thought sharing this with you might help you understand where I get some of my inspiration from!  Immediately seeing this photo my fingers started itching to try re-create it LOL!  I'm so done with winter but boy oh boy it sure creates a superb light show!

 photo d6fad301-7d1b-423d-a2b6-c4c19f15fe5e.jpg
Pin It

Wednesday, February 19, 2014

Barrel of Tulips


Hello!

I'm continuing on in my Spring theme today!  Is there anything that shouts Spring more than a blooming Tulip? Their colors are so fresh and bright and as one of the earliest blooming flowers its a sure sign that Winter has departed and warmer weather is on its way!

And what do you think about that little "wooden" barrel?  I think it turned out so sweet!  And yup you guessed it - its made entirely from paper!  The final product stands approximately 5 1/2" high and is the perfect item to add to your Spring decor.  I've created a full step by step photo tutorial to help you create one of your very own; from each petal of the Tulips to each board of the "wooden" barrel.

In this tutorial you'll learn shading techniques to make your flowers and wood grain look as realistic as possible plus many other tips for assembly along the way.  If you'd like to purchase your own copy, please click on my Online Tutorial Store tab at the top of the page to be redirected.

***Please note that I don't subscribe to an automatic email service so it might take a few minutes to receive the PDF tutorial into your Inbox.***

Supplies:

Stamp sets: Hardwood
Cardstock: Whisper White, Smoky Slate, Gumball Green, Pear Pizzaz, Old Olive, Soft Suede
Ink: Crumb Cake, Soft Suede, Chocolate Chip, Early Espresso, Crushed Curry, Crisp Cantaloupe, Calypso Coral, Tangerine Tango, Always Artichoke
Accessories: N/A
Markers: Basic Black
Big Shot: Little Leaves Sizzlits, Bigz Autumn Accents, Circle Framelits, Blossom Party Originals
Punches: Extra Large Oval, Large Oval, 1 3/8” Square, ½” Circle
Misc. : Multipurpose Liquid Glue, Hot Glue Gun, Sticky Strip, paper snips, sponges, foam mat, Stylus Tool


Well I'm off to stamp room to create!  I have a couple of birthday cards I'm working on plus another tutorial I hope to share very soon!  Thanks so much for stopping by!

 photo d6fad301-7d1b-423d-a2b6-c4c19f15fe5e.jpg
Pin It

Tuesday, February 18, 2014

Lake Shore


Good Day!

I hope you all had a great weekend - it was a long weekend for us so the boys went ice fishing yesterday and I spent the ENTIRE day in my card room!  I got so involved and lost in what I was doing that I had to remind myself to stop for lunch; I love days like that!

I haven't done a sponged scene for a while so I thought I'd blow the dust off my sponges and give one a whirl.  And because I'm craving warmer weather I thought a summer scene might just be the ticket to soothe my soul!

Supplies:

Stamp sets: Wetlands, Gorgeous Grunge
Cardstock: Whisper White, Island Indigo, Brushed Gold
Ink: Smoky Slate, Basic Gray, Basic Black, Soft Sky, Pacific Point, Crumb Cake, Soft Suede
Accessories: Oval Framelits, Decorative Dots EF (Sale-a-bration), Square Lattice EF, Antique Brads, Versamark, Gold Embossing Powder, Island Indigo Baker's Twine, Basic Black marker, White Gel Pen, Sponges, Stampin' Dimensionals

I began with a piece of Whisper White cardstock cut with the second to largest Oval Framelit.  I masked off the water portion with a sticky note and tore a second sticky note in the shape of a mountain.  I then sponged the mountain line with the negative portion of the sticky note as a guide using Smoky Slate and Basic Gray inks.  Once I was satisfied with the shading I removed the mountain mask and sponged Soft Sky into the sky area, focusing more ink at the top of the sky.

After completing the sky I removed the water line mask, then flipped it over to mask the skyline so I could work on the water.  The very bottom of the cardstock was sponged with Crumb Cake then Soft Suede for shading.  The water was first sponged with Soft Sky then Pacific Point for shading.  I stamped the dots from the Gorgeous Grunge set along the sand line in Crumb Cake and the birds from the Wetlands set in Basic Black.  I didn't like how the birds were an open image so I colored them in with a Basic Black marker.  At the same time I added a few birds to the sky.  A white gel pen was used to add a few ripples along the outside edge of the water.  As I final touch I stamped the grass from the Wetlands set with Versamark, added Gold embossing powder, and heat set.

I layered a matting behind my main image using my Decorative Edging & Matting Technique in Island Indigo then embossed it with the Square Lattice embossing folder.  To finish I cut a card base from Brushed Gold cardstock and embossed it with the Decorative Dots embossing folder available in this years Sale-a-bration flyer.  I wrapped a length of Island Indigo Baker's twine a few times around the bottom of the card before adhering the image then added the embossed sentiment at the top of the card held in place with an Antique Brad.

I hope this has provided a little ray of sunshine in your day as we anxiously await the real deal!  

Until next time...
 photo d6fad301-7d1b-423d-a2b6-c4c19f15fe5e.jpg
Pin It

Friday, February 14, 2014

Valentine Critter Wrappers


Happy Valentine's Day!

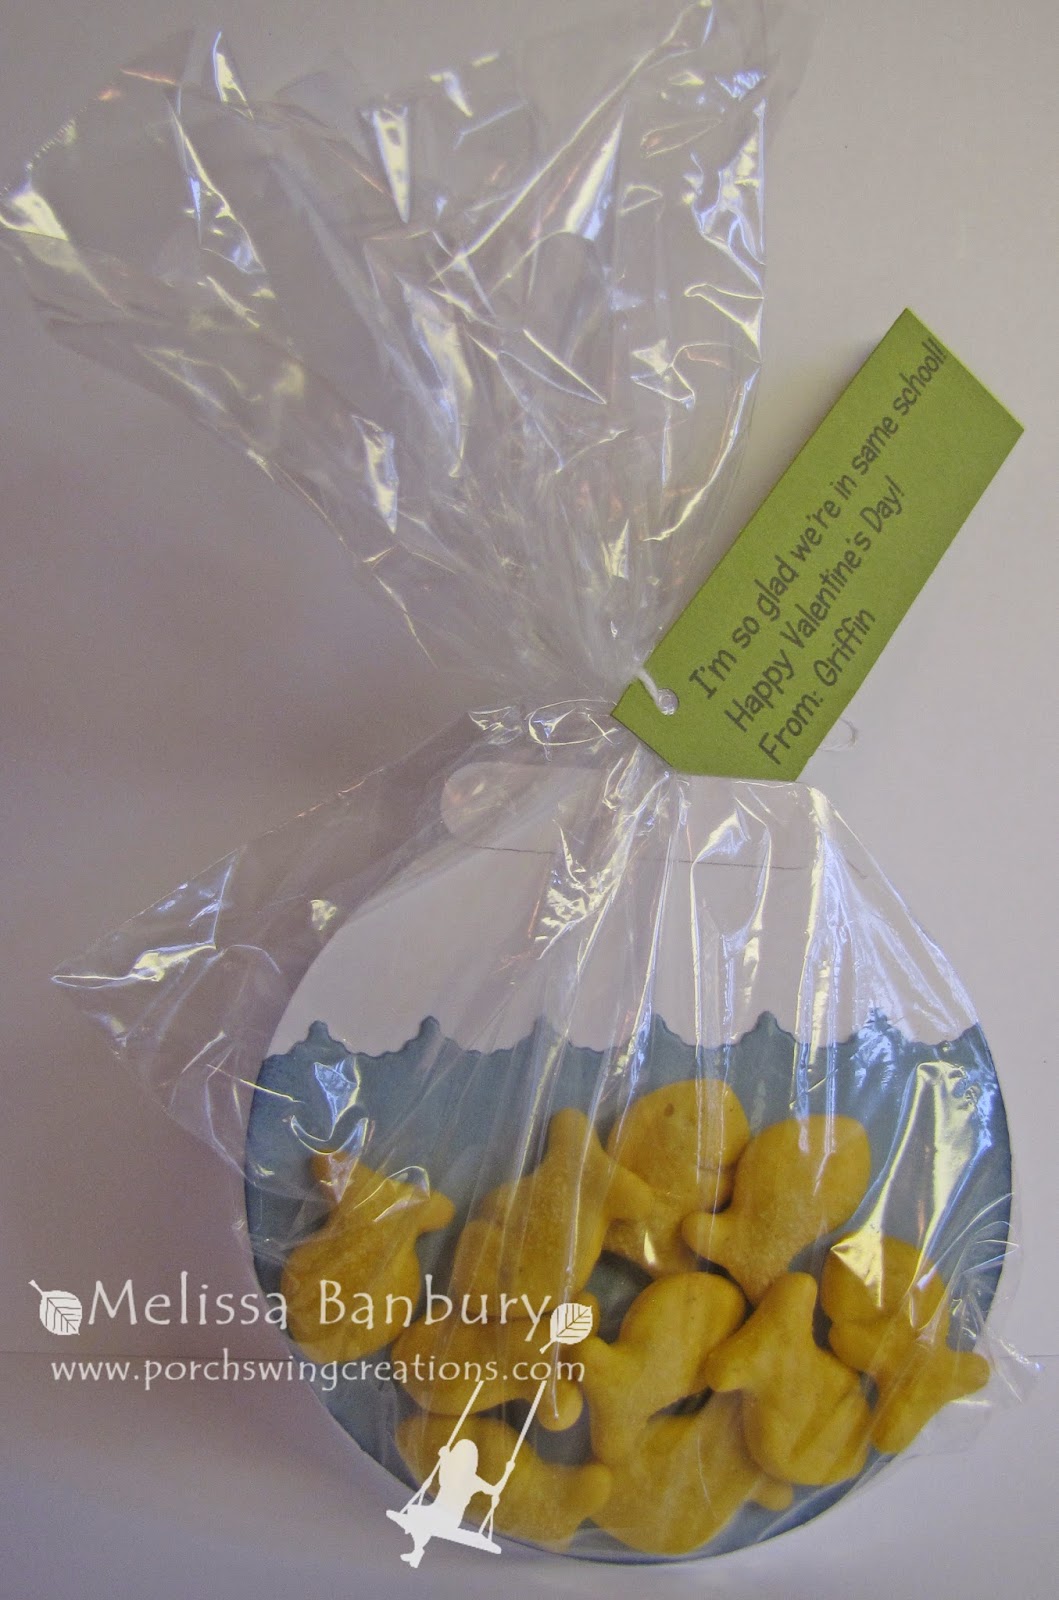
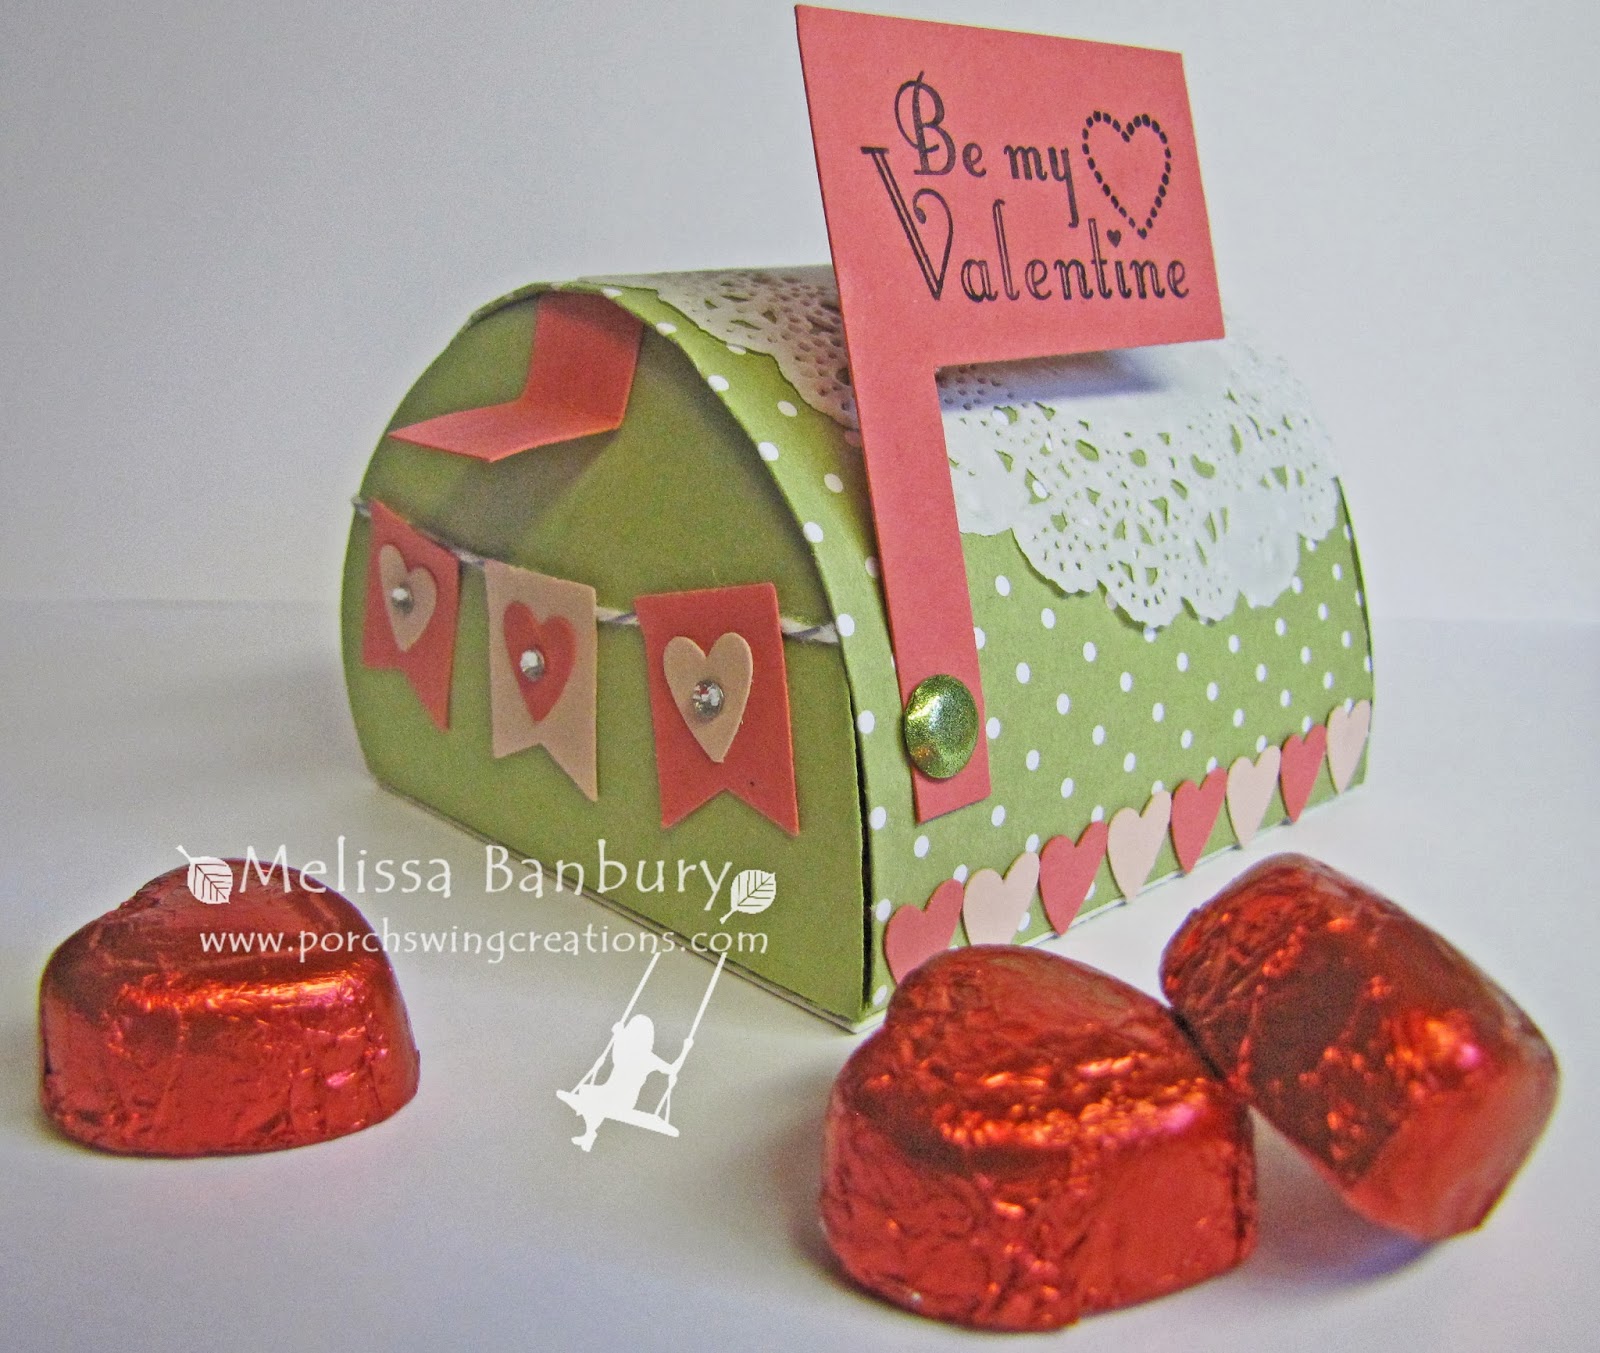
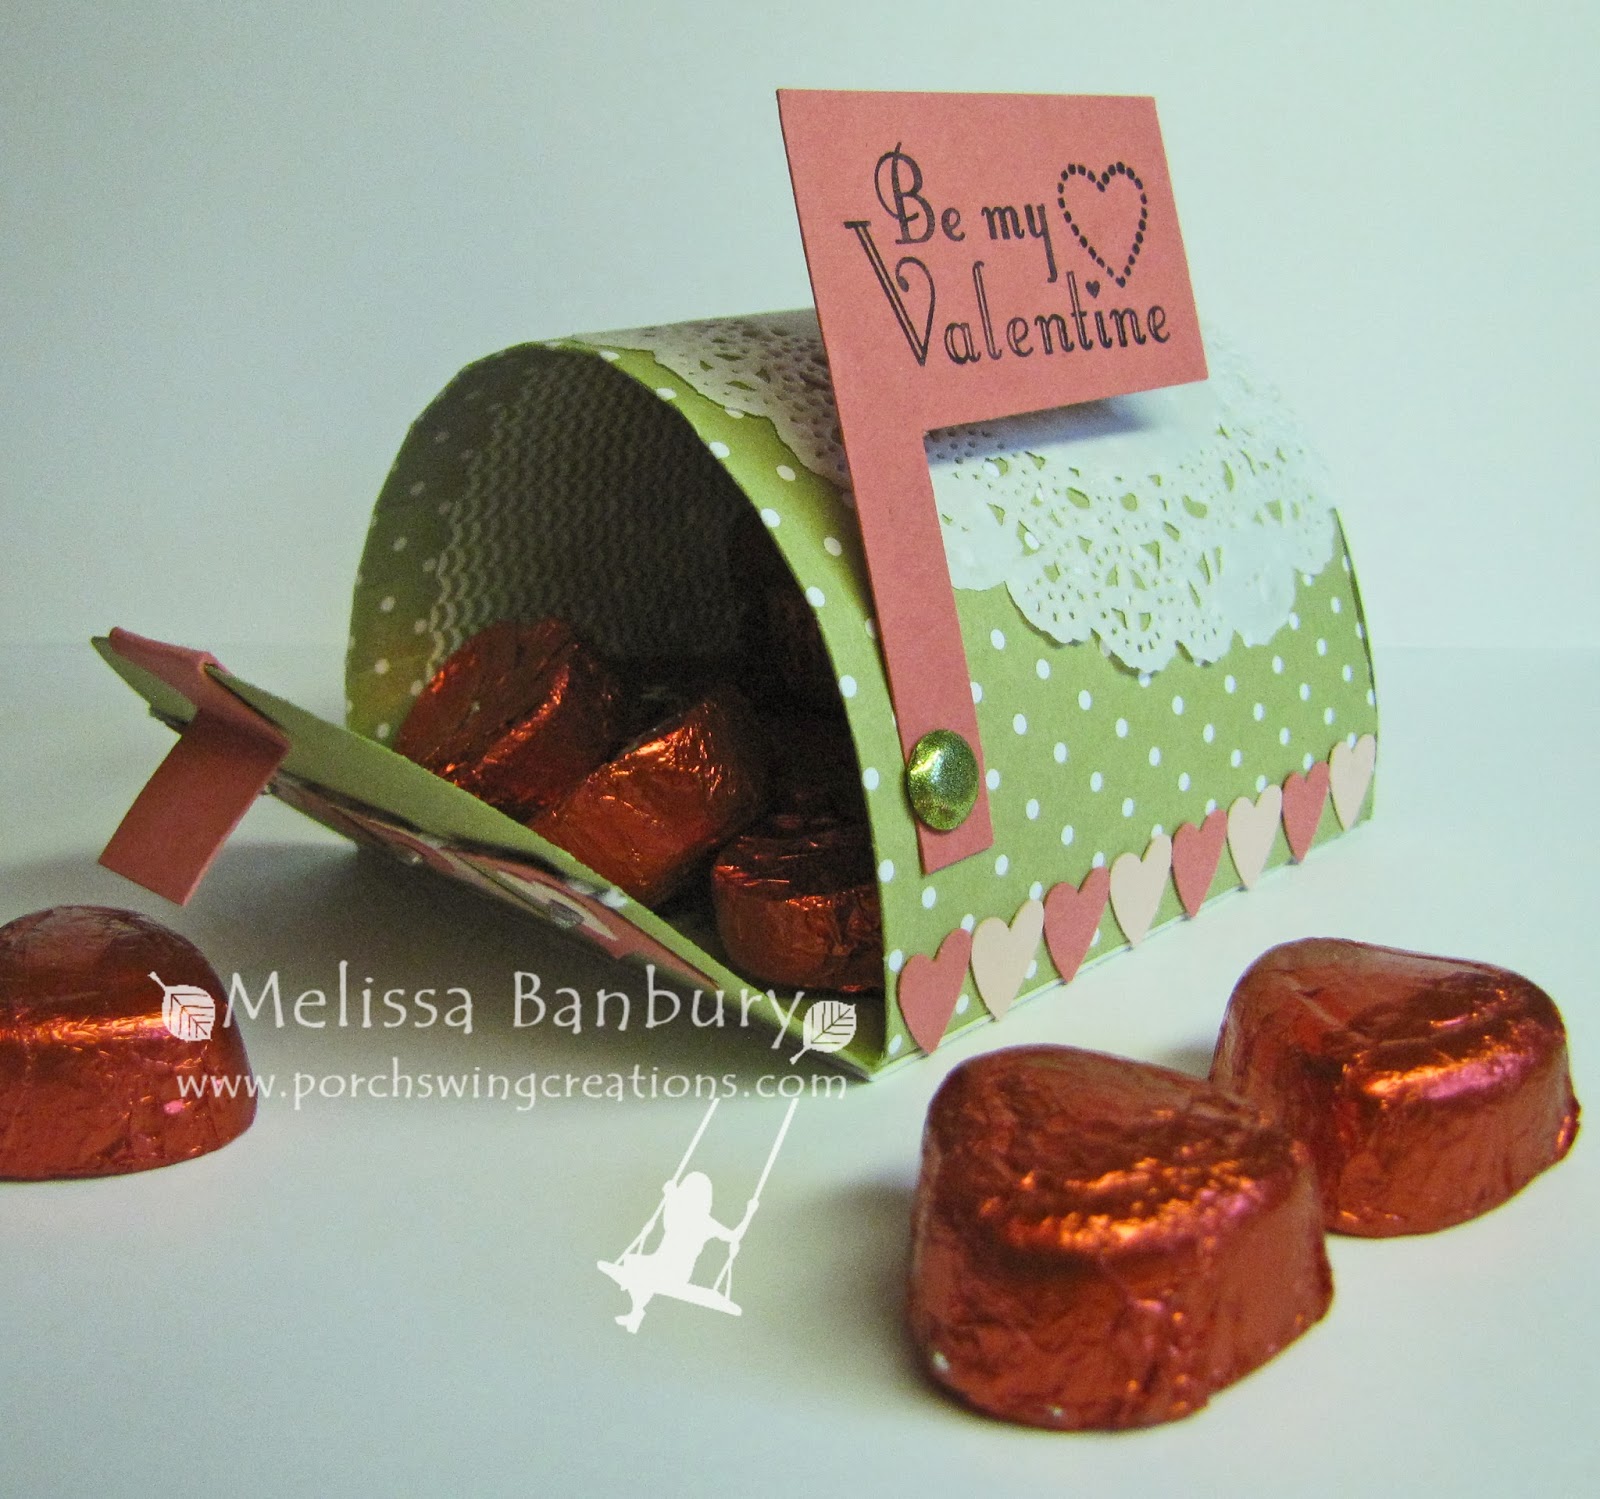
I have one more Valentine inspired project to share with you today - Critter Wrappers!  I think they're sweeter than the candy they're wrapped around, what do you think?  

I initially bought this little chocolate treats as just an add on to my son's Valentine gift, but when I was feeling pressed for time at the beginning of the week to get cards made for each of them and my hubby so I decided to forgo the card making and make the gift the card (or is it the card the gift?).  They came together really quickly once I decided on which animals to make and the kids loved being surprised with them this morning! I was also sure to finish the backs of each Critter - its nice to see that little detail of a shell, dragon wings, or lady bug spots! 


Supplies:

Stamp sets: none
Cardstock: Gumball Green, Pear Pizzaz, Basic Black, Whisper White, Soft Suede, Real Red, Blushing Bride, Chocolate Chip
Ink: Gumball Green, Chocolate Chip
Punches: 2 1/2" Circle, 3/4" Circle, 1/2" Circle, 1 3/4" Circle, Boho Blossoms, Extra Large Oval, Large Oval, Small Oval, Build a Cupcake, Build an Owl
Accessories: Oval Framelits, sponges, Multi purpose liquid glue, Mini Glue Dots, White Gel Pen, Basic Black marker, Gumball Green marker, Paper Snips 

I hope you are inspired by these little guys!  I almost wished I'd had more chocolate so I could keep on making different animals!

If your looking for any other last minute Valentine ideas or would just like to browse, I have a few from past posts that might interest you:


I hope you have a wonderful and special Valentine's Day with your loved ones!  I'll see you right back here next week!

Update: February 18, 2014

I had numerous requests to share my recipes for these little guys so here goes:

Note: I don't have measurements for the bands that wrap around the candy - I cut a strip of Gumball Green approximately 2 1/2" wide and "dry fit" it around the box then used a bone folder to create proper creases before adhering it to the box.

Turtle 
Cardstock: Gumball Green, Pear Pizzaz, Basic Black, Whisper White, Blushing Bride, Chocolate Chip, Soft Suede
Punches: 1 3/4" circle, Extra Large Oval, 1/2" Circle, 3/4" Circle, Owl, Cupcake, Oval Framelits

Head: Extra Large Oval, 1 3/4" Circle; both in Gumball Green
Eyes: 1 - 3/4" Gumball Green circle cut in half, 2 - 3/4" Whisper White circles, 2 - 1/2" Basic Black circles, details added with a white gel pen
Front Feet: 2 - Small Ovals in Gumball Green shaped slightly with paper snips
Back Feet: 2 - Small Ovals in Gumball Green, 2 - 1/2" Circles in Chocolate Chip
Mouth: Drawn with a Gumball Green marker, 2 - Hearts from the Owl Punch in Blushing Bride
Warts: Small circles from the Owl punch and Cupcake punch, all in Pear Pizzaz
Shell: Second smallest Oval from the Oval Framelits in Soft Suede, Smallest oval from the Oval Framelits in Chocolate Chip randomly cut up and glued to the main shell.
Tail: 1/2" Circle in Gumball Green, shaped with paper snips

Dragon
Cardstock: Gumball Green, Pear Pizazz, Basic Black, Chocolate Chip
Punches: Extra Large Oval, Small Oval, 1/2 Circle, Owl

Head: 1 - Extra Large Oval in Pear Pizzaz, 1 - Extra Large Oval in Gumball Green
Eyes: 2 - Middle sized circles from the Owl punch in Basic Black, details added with a white gel pen
Nose: 2 - Hearts from the Owl punch in Basic Black
Mouth: 2 - Smallest circles from the Owl punch in Basic Black, mouth line drawn on with a Gumball Green marker
Ears: 2 - 1/2" Circles trimmed to shaped  in Gumball Green
Horns: 2 - "ears" from the Owl punch in Pear Pizzaz
Hair: cut freehand from Gumball Green
Front Feet: 2 - small oval in Gumball Green, trimmed with paper snips
Back Feet: 2 - small oval in Gumball Green, trimmed with paper snips, 2 - 1/2" Circles in Chocolate Chip
Wings: 2 - Extra Large Ovals in Chocolate Chip, scallops punched with the small oval punch
Tail: portion of the Owl body in Gumball Green trimmed with paper snips, Heart from Owl punch in Pear Pizzaz


Lady Bug Bear
Cardstock: Soft Suede, Basic Black, Blushing Bride, Real Red
Punches: 2 1/2" Circle, Small Oval, 1/2" Circle, Boho Blossoms, Cupcake, Owl

Head: 2 1/2" Circle from Soft Suede, trimmed flat along the bottom
Ears: 2 - small ovals from Soft Suede, 2 - 1/2" circles from Blushing Bride
Bow: 2 - middle sized circles from the Owl punch in Real Red, 1- small circle from the Cupcake punch in Basic Black
Antenna: 2 - small strips of Basic Black, 2 - small flowers from Boho Blossoms in Real Red, 2 - small circles from Cupcake punch in Basic Black
Eyes: middle sized circles from Owl punch in Basic Black, trimmed slightly, details added with a white gel pen
Nose: Small oval in Basic Black, trimmed, details added with a Basic Black marker
Paws: 4 - small ovals in Soft Suede, Bottom paws include a 1/2" Chocolate Chip circle and 3 small circles from the Cupcake punch, also in Chocolate Chip
Wings: 2 - Extra Large Ovals in Real Red, trimmed on one edge slightly, Hearts from the Owl punch in Basic Black
Tail: smallest flower in the Boho Blossoms punch in Soft Suede
 photo d6fad301-7d1b-423d-a2b6-c4c19f15fe5e.jpg
Pin It

Thursday, February 13, 2014

Let's Stick Together

Hello!

Today's share is the Valentine's card I made for my husband.  I knew I had to keep it plain, simple, and to the point if I wanted to keep his attention LOL.  Male cards are so darn hard to come up with in the first place; and figuring out a way to put extra "fuss" into them is almost torturous...am I right here?  Simplicity just seems the obvious choice when it comes to making a masculine card!

I stumbled on an idea similar to this on Pinterest, but it was real white resin twigs tied together and used as wedding favors - more proof that you can find inspiration for a card or project in the oddest places when your not even looking for it!  And because I like to create things that can be used for more than one occasion, why not make this as an Anniversary card, a Wedding card, or even as a card to lift up glum spirits for a loved one.  Here's how I made mine:

Supplies:

Stamp sets: Best of Love, Hardwood
Cardstock: Shimmery White, Real Red, Pool Party
Ink: Crumb Cake, Real Red
Accessories: Woodgrain Embossing Folder, Square Lattice Embossing Folder, Banner Punch, Multi purpose liquid glue, Stampin' Dimensionals, Mini Glue Dots

Stamp the Shimmery White cardbase using the Hardwood stamp in Crumb Cake ink.  At the bottom of the card base stamp the "love" sentiment from the Best of Love set in Real Red ink.  Cut a piece of Shimmery White cardstock measuring 3 1/4" square and layer beneath a 3" square piece of Real Red cardstock embossed with the Square Lattice folder.  Cut 2 pieces of Shimmery White cardstock measuring 3" square and emboss with the Woodgrain embossing folder.  Roll each into a tube and secure the edges with Multi purpose glue.  Print the saying using MDS onto a piece of Pool Party cardstock and punch one of the ends with the Banner punch.  Wrap around the two sticks and secure with glue dots before adhering to the front of the card.

I have one more Valentine project that I'll share with you on the big day itself, so be sure to check back tomorrow!  Have a great rest of your day - I made pink cupcakes filled with chocolate ganache and chocolate cream cheese icing this morning and I must say they're calling my name so I'm off to give into temptation!!!

Until next time...
 photo d6fad301-7d1b-423d-a2b6-c4c19f15fe5e.jpg

Pin It

Wednesday, February 12, 2014

Fish Bowl Valentine


Good Morning!

If your looking for a quick valentine treat to put together at last minute, you've come to the right place!  I was able to make enough for my son's classmates in just an evening; and I think they turned out super cute!  Plus I love the idea of not giving a sweet treat, especially in a school setting :)

Supplies:

Stamp sets: none
Cardstock: Baja Breeze (retired), Whisper White, Old Olive
Ink: Midnight Muse
Accessories: Circle Framelits, Adorning Accents Edgelits, Modern Label punch, sponges, Whisper White Baker's Twine, Crop-a-dile, Multi-Purpose liquid glue, clear snack bags

I began by cutting the base of the fish bowl using Whisper White cardstock and the 5th circle in the Circle Framelits die.  I then repeated the process using Baja Breeze cardstock (I'm trying to use up a few of my discontinued papers but Marina Mist would have worked well too).  After cutting all the necessary circles I positioned the scalloped edgelit from the Adorning Accents set approximately 1/3 of the way down each of the Baja Breeze circles and ran that through the Big Shot.  To give each bowl of water a little depth, I sponged the edges with Midnight Muse before adhering it to the white circles with Multi purpose glue.  To finish each fish bowl I punched one Modern Label from Whisper White cardstock and glued it to the top of the bowl.

To complete each Valentine, slip the fishbowl inside a clear snack bag, add a few Goldfish crackers, a label printed in My Digital Studio, then tie the top with a length of Baker's Twine.

I hope you liked this quick and simple project!  Until next time...
 photo d6fad301-7d1b-423d-a2b6-c4c19f15fe5e.jpg
Pin It

Tuesday, February 11, 2014

Sending Love Mailbox


Hello!

Well, I think I'm finally back in the saddle!  I've completed a few projects over the last few days and re-organized my card room - both sure signs I'm ready to start creating again!

With only a few days left before Valentine's Day I quickly made a couple of these cute little mailboxes to hold a few treats for someone special.  I think this project offers a lot of versatility and could definitely be used for more than just Valentine's Day; it could be decorated for a Birthday or used as a party favor for a long list of events.  For this very reason be on the look out for a tutorial in my Online Store coming soon!

Supplies:

Stamp sets: Delightful Dozen
Cardstock: Pear Pizazz, Strawberry Slush, Blushing Bride, Subtles Designer Series Paper Stack
Ink: Basic Black
Accessories: Brights Glimmer Brads, Tea Lace Paper Doilies, Pennant Punch, Heart to Heart punch (retired), Oval Framelits, Basic Rhinestones, Wisteria Wonder Baker's Twine, Sticky Strip, Multipurpose Liquid Glue

I hope you have a wonderful day!  I'll be back tomorrow with more Valentine's Day projects!

 photo d6fad301-7d1b-423d-a2b6-c4c19f15fe5e.jpg
Pin It

Monday, February 3, 2014

Happy Watercolor Background Technique


Happy Monday!

I must say I was happy to welcome in the month of February.  I think there is some truth that January is the most depressing month of the year - it was so cold and windy the entire month I felt like curling up into a ball and hibernating.  If nothing else I hope turning the page on my calendar inspires me to start creating again!

Today's card is one of the techniques I shared at last month's technique class.  It featured how to create that pretty watercolor background with the use of ink pads, butcher paper, and a Stampin' Spritzer.  

The process is as follows: 
1) Smear your chosen colors onto a piece of butcher paper.  I chose to use butcher paper because of its non-porous properties.  You want to be sure to use the waxy side of the paper for this technique.  
2) Spritz the ink with water.  
3) Lay a piece of watercolor paper face down into the ink and gently move the piece of paper back and forth.  
4) Flip the paper over and heat set to speed up drying times.

Supplies:

Stamp sets: Happy Watercolor
Cardstock: Watercolor Paper, Whisper White, Strawberry Slush
Ink: Strawberry Slush, Coastal Cabana, Gumball Green, Basic Black
Accessories: Floral Framelits, Little Leaves sizzlit, Bitty Butterfly Punch, Decorative Dots EF (SAB), Tombow liquid adhesive, Stampin' Spritzer, butcher paper

I did create a video for this technique, however I haven't edited it as of yet.  If its something you would be interested in seeing, please comment below and I will get it done and uploaded ASAP.

I hope to share a Valentines project I have in mind within the next couple days, so check back for that!  And don't forget that Sale-a-bration began early last week!  That means with every $60 purchase before S/H and taxes you can choose a free item from the Sale-a-bration flyer!  To check out the flyer, click the link in the left hand side bar.  

Until next time...
 photo d6fad301-7d1b-423d-a2b6-c4c19f15fe5e.jpg
Pin It
Related Posts Plugin for WordPress, Blogger...