Friday, February 24, 2017

Pokemon Incineroar Card in a Box


Hello!

If you have been following my blog for any length of time, you probably already know that I love a challenge, especially when it comes to me in the form of punch art.  This Pokemon Incineroar card proved to be no exception and in the end has probably been my most challenging to create to date.  I was asked by a client in Australia if I could make a Pokemon card for her grandson.  I quickly agreed assuming (I never, ever seem to learn not to assume...) that she would be requesting a character like Pikachu or the logo which would be quite simple to re-create.  Ha, not!  She sent me a Googled image of Incineroar...and I panicked!

After catching my breath and really studying the image I realized that maybe it wouldn't be as bad as I thought.  I try to approach any image I'm making from punch art as simply broken down pieces, not as a whole image and I find then that everything is simply a shape connected to another shape, creating a puzzle that eventually makes a picture.  I know there are many ways to tackle a project like this, such as printing the image out and cutting the pieces of the "puzzle" apart; but I prefer to leave the image on my phone or Ipad and simply work from eye off the screen.  His hands seemed the most daunting to me so I began with his head and body, leaving the hands for last so I could accurately proportion them. Here's my end result, before I added him to the card in a box base:
He's not an identical match, but I think it's fairly close.  In the end I used only a few punches from my collection and spent a good portion of my time cutting small, intricate, hand cut pieces to make the image as authentic as possible...and yes, each of those tiny white claws was hand cut and glued into place.  In the end, Incineroar took about 3 hours from conception to completion, with another hour cutting, designing, and decorating the card base.


Supplies:
In addition to the products listed I also used the retired Small Oval Punch, Little Number Thinlit Dies, Black Glimmer Paper, Neutral DSP Card Stack in Basic Black.

If you have any questions on this card, or would like to order a custom made card, please feel free to email me with requests.  I didn't make any templates for this card, but if there is interest I can add one to my Tutorial page at a later date.

Have a wonderful weekend!
 photo Signature.png Pin It
Saturday, February 11, 2017

Mickey and Minnie Tsum Tsum Valentine Tags


Hiya!

We are only a few short days away from "Love Day" so I thought I would quickly share these cute kid Valentine Tsum Tsum tags with you!

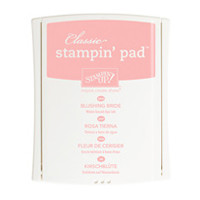
Begin with a one of the larger circles from the Layering Circle Framelits cut from Basic Black card stock.  Slightly trim down the top of the circle to give it a more oval shape.  Cut two of the smallest circles in the set from Basic Black as well.  From Blushing Bride card stock, cut one medium sized circle from the Layering Circle Framelits.  Trim this down to resemble the mouse "face".  Sponge lightly using Blushing Bride ink and a Sponge Dauber.  Punch three 1/2" circles from Basic Black card stock and trim down to create an oval shape.  Assemble with Multi-purpose liquid glue.

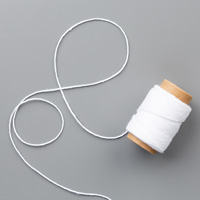
To add the bow on Minnie, cut two of the smallest hearts in the Sweet and Sassy Framelit set from Real Red card stock, as well as a small 1/2" or 3/4" circle.  Add dots with a white gel pen and assemble.  Add Minnie's eyelashes with a Basic Black marker.  Stamp a small sentiment on another piece of colored card stock and glue onto the back of the tag.  Punch a small hole into the tag and tie with a piece of Baker's Twine.

If you'd like a template for the face, please let me know.  I free handed these, but I could easily do another to post and share.

Supplies:
See you all back here soon!
 photo Signature.png Pin It
Friday, February 10, 2017

Hey, Chick! Valentines Day Card

Hello!

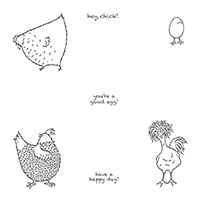
Can I just go on record saying that this Hey, Chick set might just be my all time favorite Sale-A-Bration item EVER?  The moment I saw this set, I wanted it...and I don't even LIKE chickens! Because my lovely hubby knows my full dislike of them, he takes any opportunity he can to point out chicken decor that he thinks I might "like".  Now, while I don't anticipate my kitchen becoming a shrine to Roosters anytime soon I decided it might be a great time to turn the cards around and poke a little fun back at him.  This year I intend every card I make him to showcase these goofy little chickens - first up being Valentines Day!

I had to pull from a few retired sets to complete this card, but sometimes it just has to be done to achieve the outcome you're striving for LOL.  I used the Best of Love set to create my own custom background behind the chicken.  I simply colored in the lips with a Real Red marker and randomly stamped on a piece of Whisper White card stock.  The sentiment is from the retired Delightful Dozen set; its the perfect size for this card.

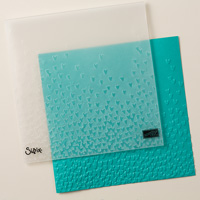
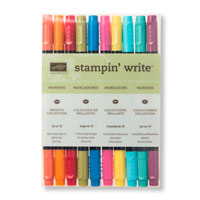
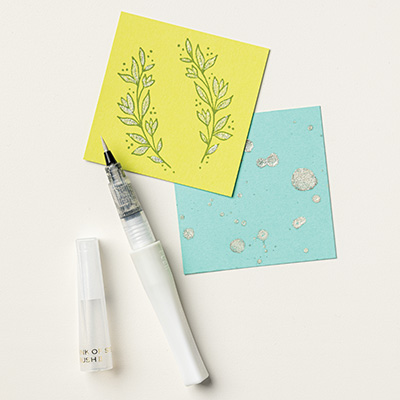
I stamped the chicken in Momento Tuxedo Black ink and colored it with my Stampin' Write Markers before highlighting areas with a Clear Wink of Stella pen.  His "feathers" really sparkle and make him look quite life like in person!  To finish the chicken I used a White Gel pen to add a few highlights to the red feathers.  I cut the image out using the Stitched Framelits, and backed it onto another Stitched Framelit circle cut from Real Red card stock.  The lower portion of the card is Real Red card stock embossed with the new Falling Petals embossing folder.  I backed the images with some red/white striped patterned paper I had in my stash before adhering it to a Real Red card base.

Supplies:
I hope you have a great weekend!

 photo Signature.png Pin It
Related Posts Plugin for WordPress, Blogger...