

Hello!
Today I wanted to share a simple card that looks anything but simple! I love the effect that a multi-step stamp can bring to the table with just a few shades of ink; the results are so life like they jump off the page!
When I sat to make this card I pulled out the standard pink colors of a rose but after an initial "test" stamp (please tell me I'm not the only one who does that...) I decided I wanted more impact and not the "norm". Sweet Sugarplum is such a beautiful color I chose it first than built the other colors around it. This card also gave me the opportunity to use my MISTI to ensure I had the perfect alignment for my bouquet. I think the color result was stunning and I must admit I found it hard to part with this one :)
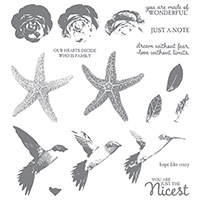
- Begin with a piece of Whisper White card stock. Using an alignment tool such as the Stamp-a-ma-jig or a MISTI first stamp the flower image marked #1 in Pink Pirouette ink. To make the process a little easier stamp all 3 images at the same time before moving on. Make note of the small arrow portion built into the stamp for easy alignment; just make sure its facing the same way in all 3 images and you'll have a perfect stamped image every time!
- Next, align the flower image marked #2 over the first stamped imaged and stamp using Sweet Sugarplum ink.
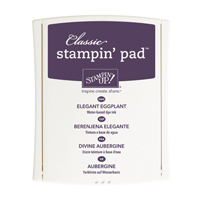
- To complete the rose, align the flower image marked #3 over the first two stamped images and stamp using Elegant Eggplant.
- Before stamping the leaves, create a mask from a post it of the rose using image #1.
- Place the mask over the rose you'll be stamping leaves next to and stamp image #1 of the leaves in Pear Pizzazz ink. Again, its best to stamp one color of the leaves at a time.
- Align the leaf image marked #2 over the first stamped image and stamp using Wild Wasabi ink.
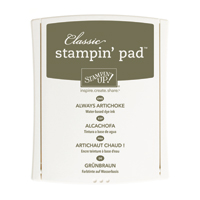
- Finally stamp the final image marked #3 over the first two images with Always Artichoke ink.
- To add a little shimmer to the roses, add Clear Wink of Stella over the images.
- Add a sentiment to the bottom of the Whisper White card stock using Versamark and Silver embossing powder.
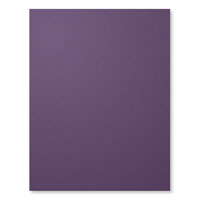
- Back the stamped layer with Silver Glimmer Paper and make the card base with Elegant Eggplant paper.
- Don't forget to decorate the inside of the card to add a finishing, professional touch!

Supplies:


That's all for me today! I hope I've given you a little inspiration to try a multi-step stamped image. They are truly a game changer and once you get the hang of them, so easy to use!
I hope you have a wonderful day! Don't forget to subscribe to the Holiday newsletter; this Friday marks Week #2!
I hope you have a wonderful day! Don't forget to subscribe to the Holiday newsletter; this Friday marks Week #2!
 Pin It
No comments:
Post a Comment